Custom components
When built-in components are not enough to achieve your wanted results build your own using custom components UI.
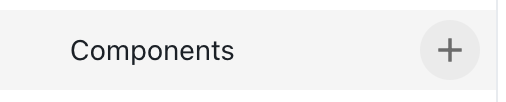
Creating new component
In order to create a new custom component locate + button in the Explorer near Components section and click it:
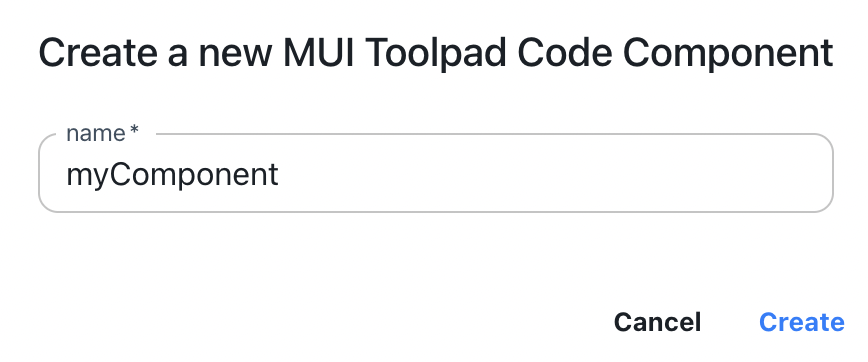
Choose the name for your component and click Create:
You can now use code editor (on the left) and live preview (on the right) to define your custom component:
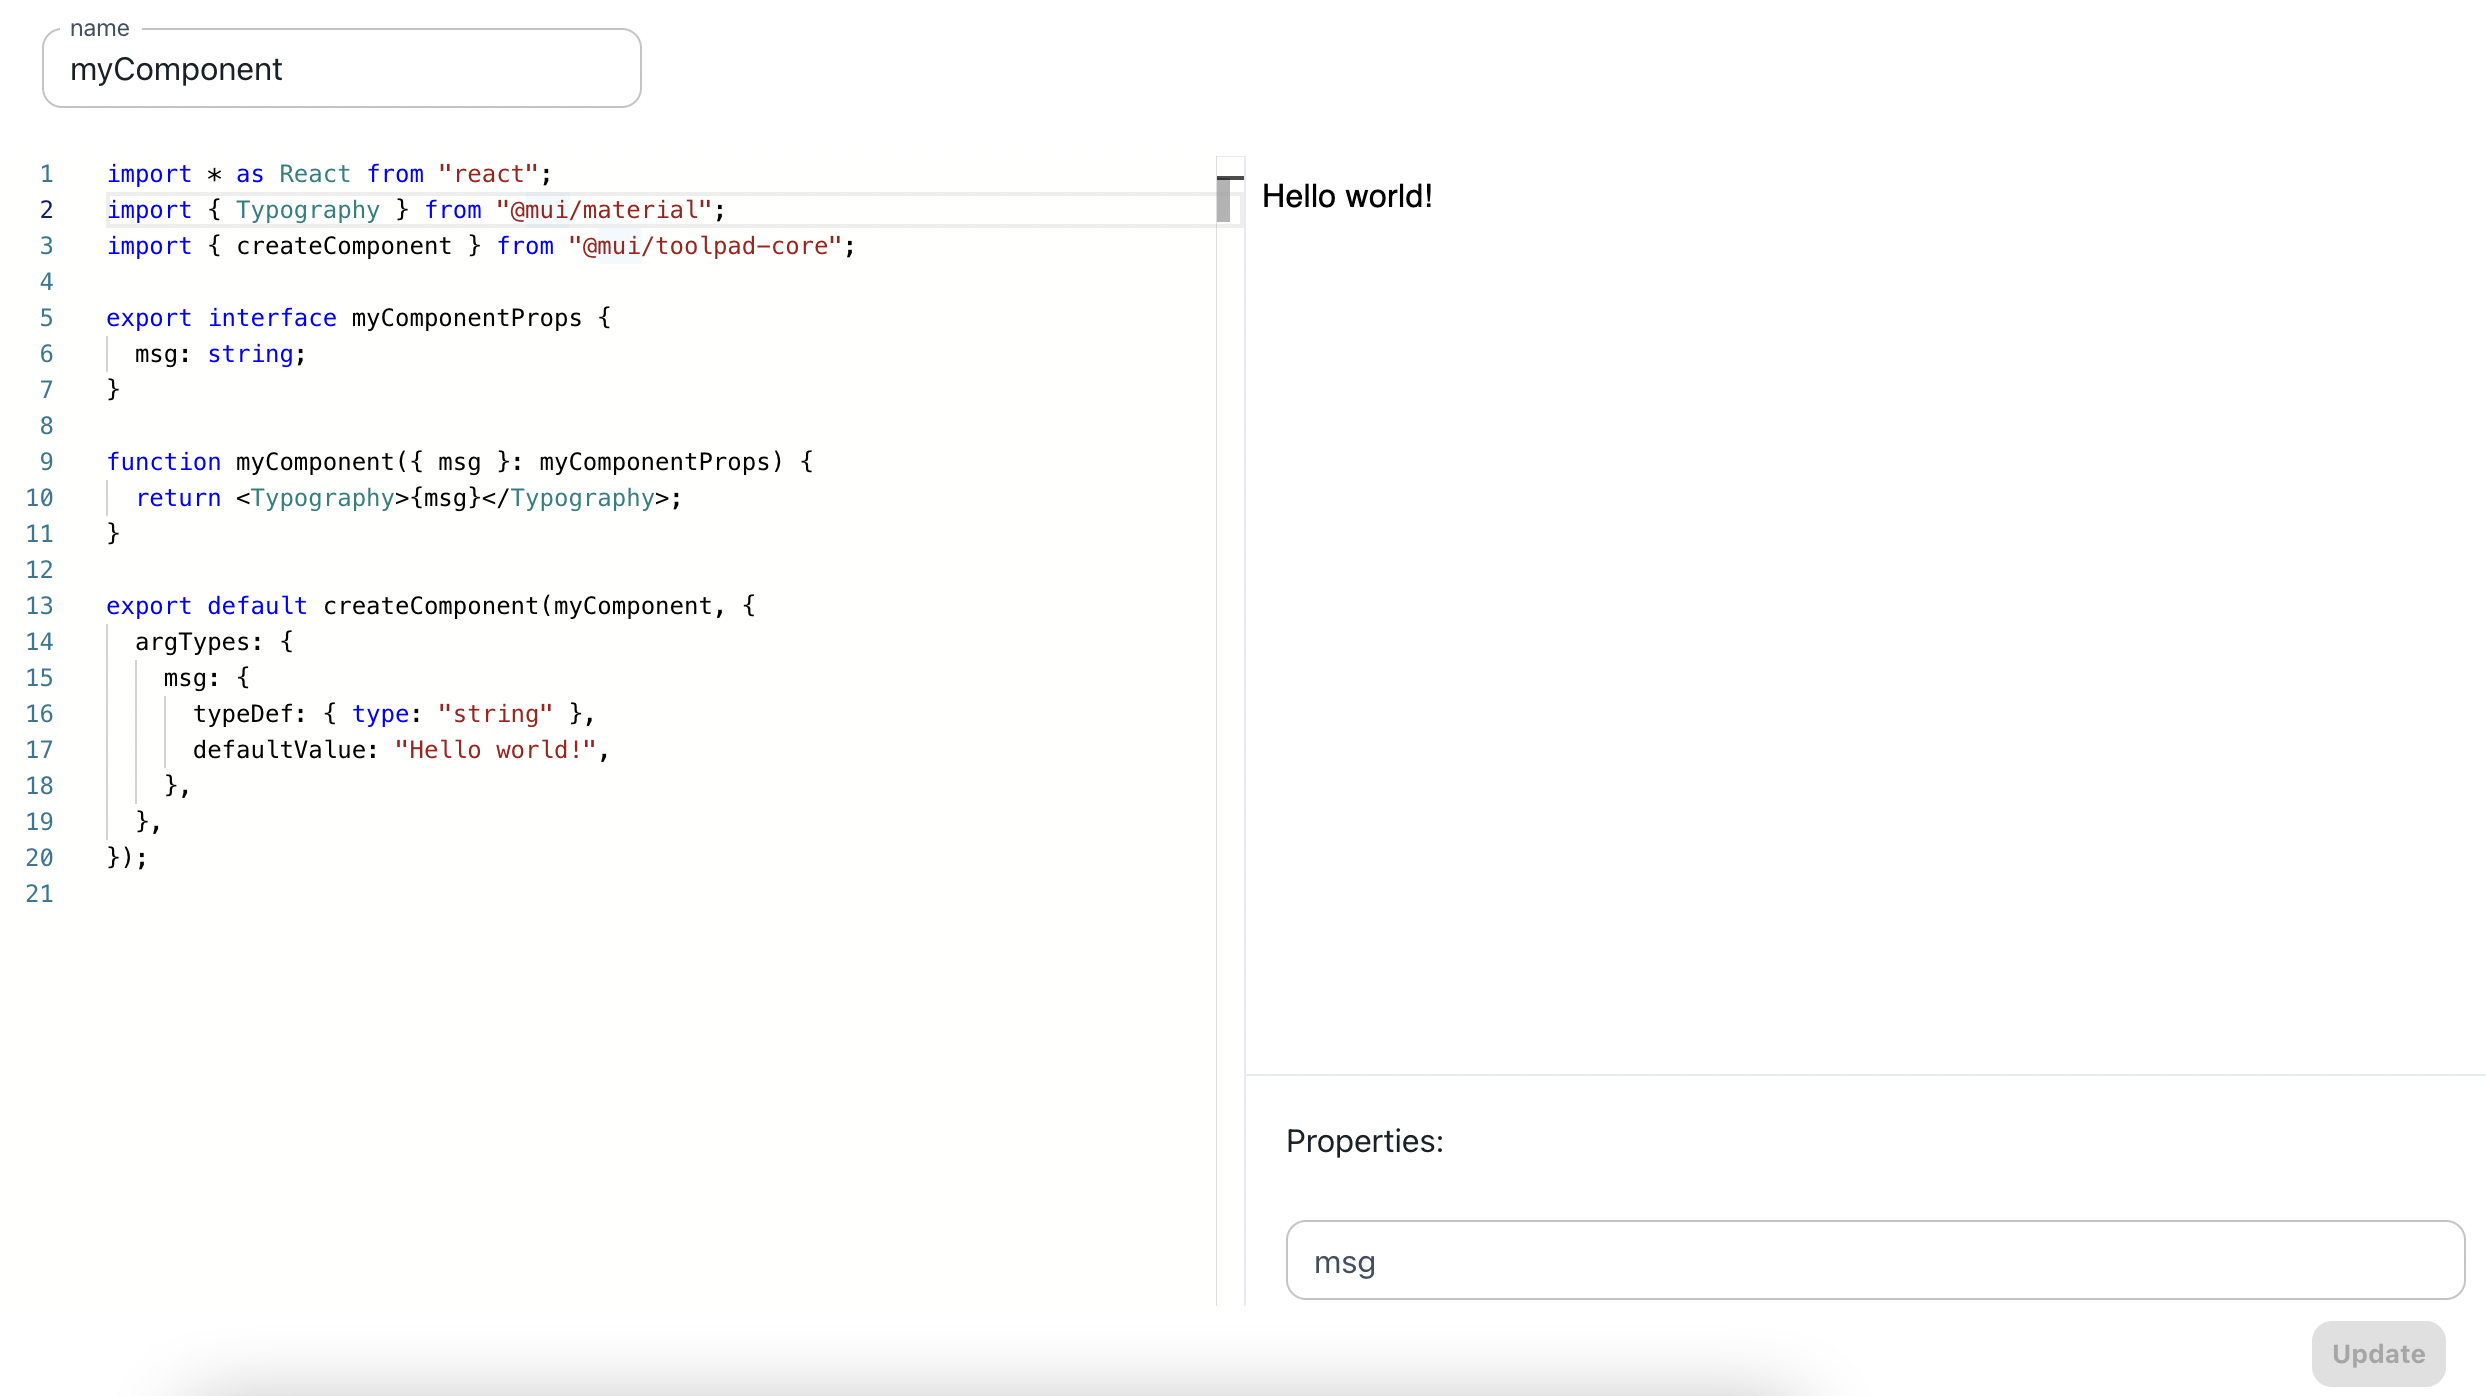
Supported features:
- Expose props API through
argTypesdefinition when usingcreateComponentmethod. - Import any external ESM module through URL.
- Import anything from
@mui/*packages:- @mui/material
- @mui/x-data-grid
- @mui/x-date-pickers
- @mui/x-data-grid-pro (free of charge within Toolpad)
- @mui/x-date-pickers-pro (free of charge within Toolpad)
- @mui/icons-material